In this tutorial, you will learn how to create vector images made from any symbols, having previously processed a bitmap image in Photoshop and using a wonderful script. The technique is very simple and accessible to everyone, it only depends on your imagination!
Preparing Image for Further Processing
Step 1
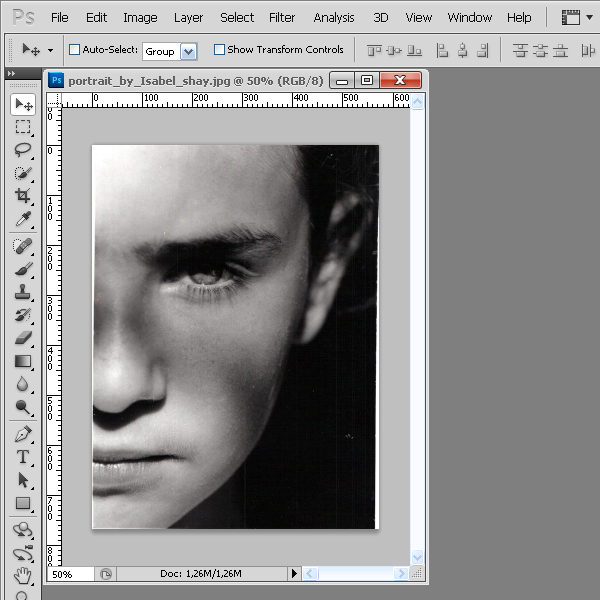
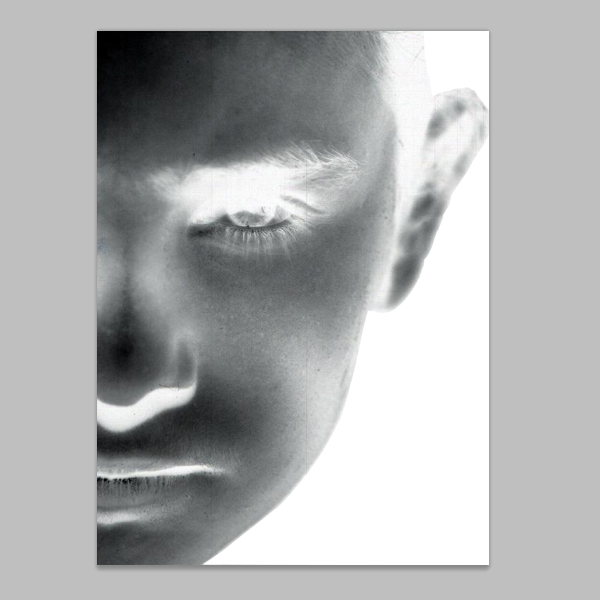
For this tutorial, a picture of any quality and resolution will do. It is good if the picture has good contrast, is well exposed, has artistic value. The value of the final product depends on this. For this artwork I used a photo of Isabel Shay, who kindly gave permission to use it. The picture I used is a scanned image from film, it has a low resolution, scratch-defects, but from my point of view, is an excellent portrait. After you save it to your computer, open the picture in Photoshop.
Step 2
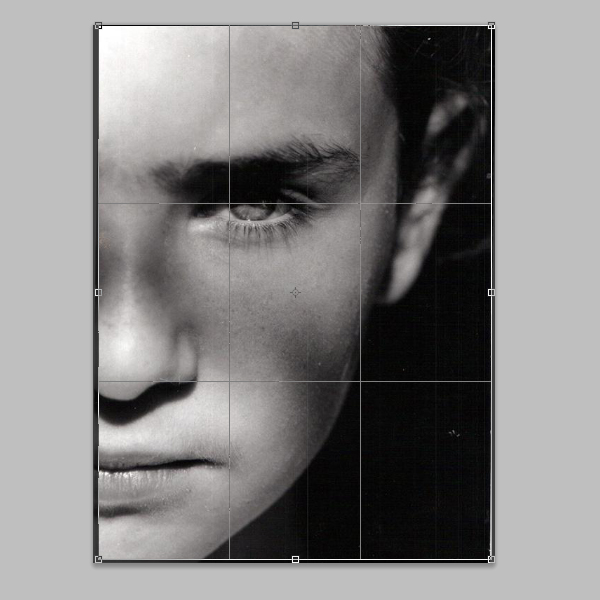
Take the Crop Tool (C) and crop the photo so that the undesirable elements (white stripes on the right and left) are left off screen.
Step 3
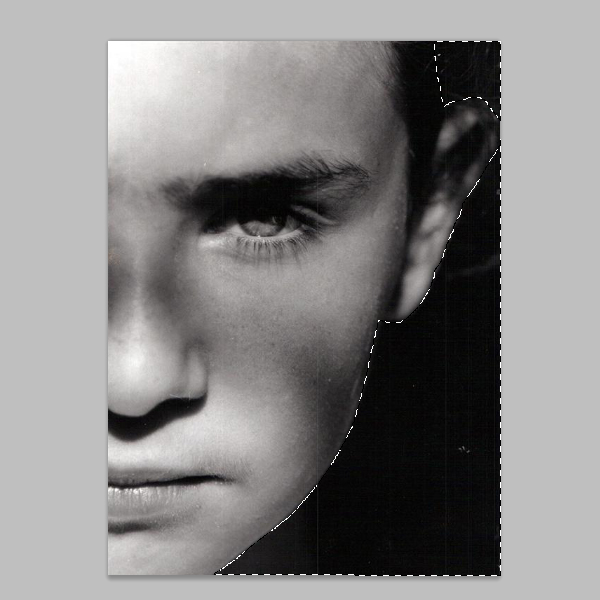
Make the background of the picture absolutely black. Take the Polygonal Lasso Tool and create a selection in the shape of the background. You do not need to be too accurate, but negligence is not welcome either.
Step 4
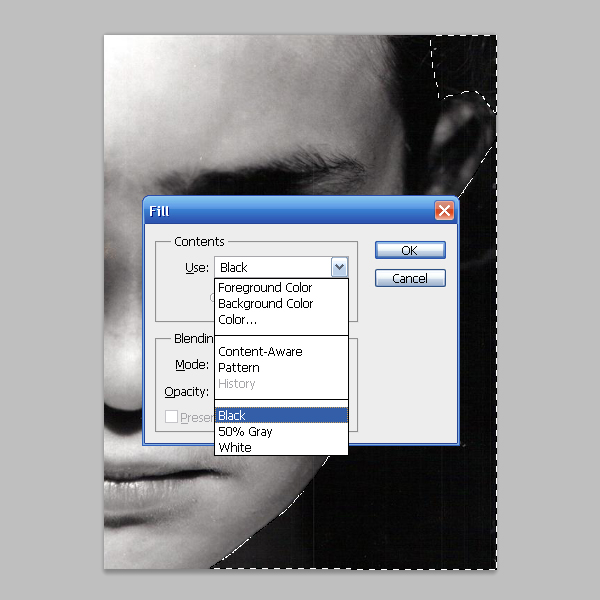
Click on the Delete button and choose Black in the open dialog box. Press Command + D to cancel the selection.
Step 5
Now go to Image > Adjustments > Invert (Command + I) for color inversion of the image.
Step 6
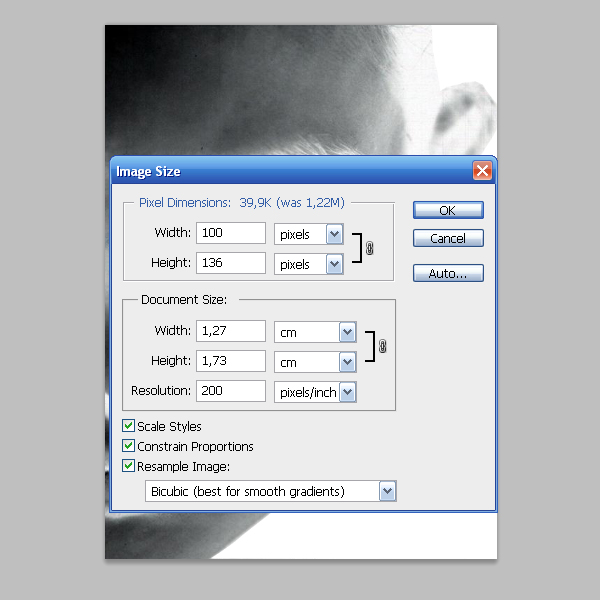
Now reduce the image’s size, looking ahead, I will say that the final size of vector portrait depends on the size of the photo. Proceed to Image > Image Size…, and set the new image size in the dialog box. I set an image width equal to 100 px.
Save the portrait, File > Save for Web & Devices. The image preparation is completed at this step.
Script Installation and Creating a Vector Portrait
Step 7
We will be using the Object Multiple Raster script in our work. This script creates graphics based on the pixel data of bitmap raster objects. You can download this and the whole collection of interesting scripts on the website Scriptographer. Depending on your operating system and Adobe Illustrator version, select and download the archive of scripts to your hard drive. Here you can find complete instructions for installing a package of scripts to your computer.
Step 8
Open Adobe Illustrator and paste the bitmap portrait into a new document, File > Place…
Step 9
Now create a series of symbols that will form a vector portrait. It could be any symbols or vector objects, such as a circle or square. Objects can also represent complex vector objects. I have chosen hieroglyphs from the font Matrix Code NFI for symbols. Create a few symbols using this font, the font height is 20 pt.
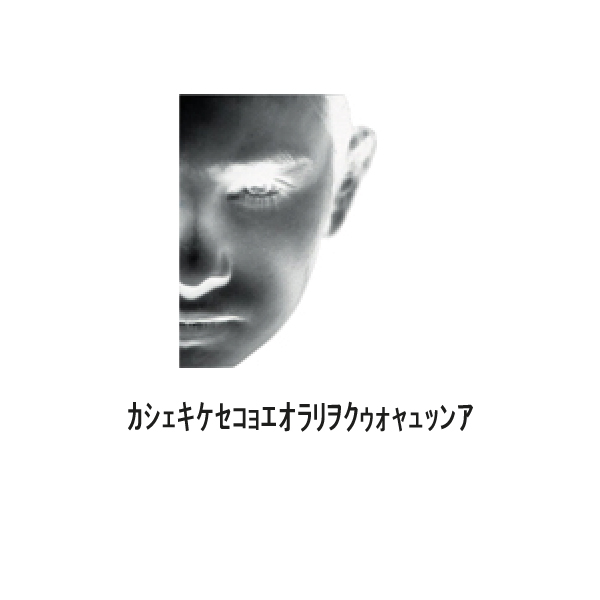
Keep the text selected, go to Object > Expand or Type > Create Outlines. Ungroup the achieved objects, Command + Shift + G (Warning, this operation is a must!)
Step 10
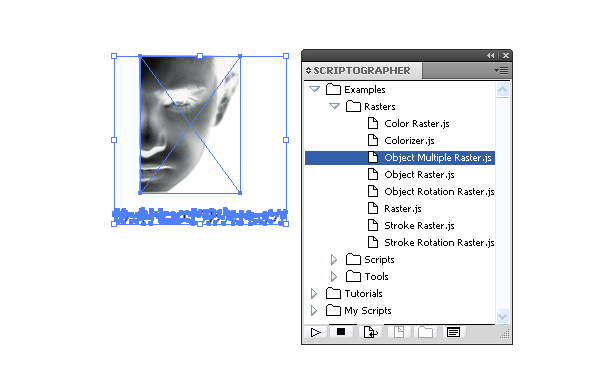
Select the bitmap portrait and all the symbols with the Selection Tool (V). Now open the Scriptographer Main Palette (Window > Scriptographer > Show Main Palette).
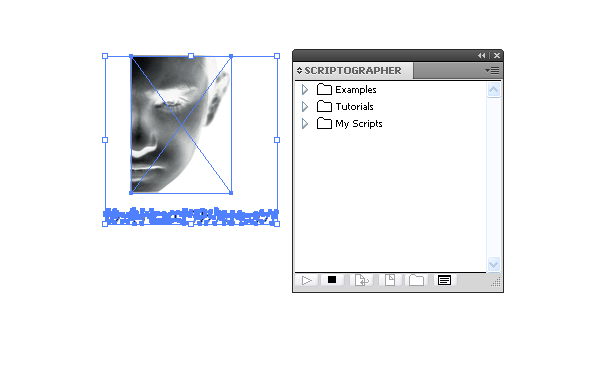
Choose the script you need (Example > Rasters > Object Multiple Raster.js).
Following the Script, there opens a dialog box with the effect settings.
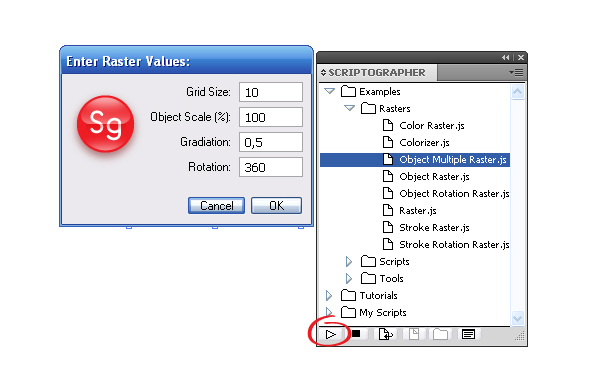
Let’s analyze in details the options of this script. Grid Size is the cell size in pixels in which a single symbol is located. If the symbol size is bigger than the cell size, symbols will overlap each other in the lightest areas of a portrait. The size of the final portrait depends on the size of the cell. The larger the cell is, the bigger the final result and the lower the density the symbols are.
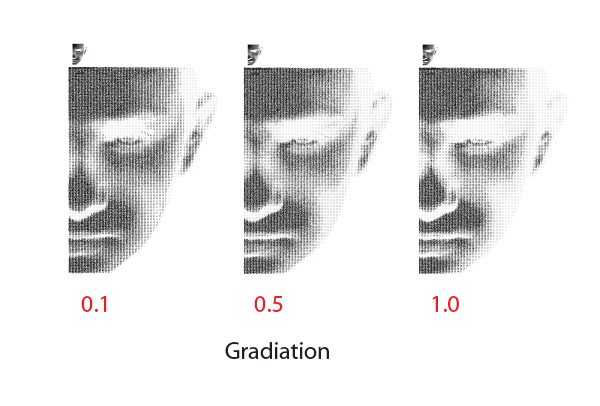
Object Scale (%) specifies the dependence of the characters forming a portrait on the initial value of symbols in a percentage base. If you adjusted symbol sizes with cell sizes, set the Object Scale equal to 100%. The contrast of the final result depends on the Gradiation parameter. The figure below shows the results with different values of this parameter set. 0.5 Gradiation value is perfect for it.
The Rotation option is responsible for turning symbols, however, my experiments to change it did not work. The symbols remained horizontal, so leave this option unchanged.
Step 11
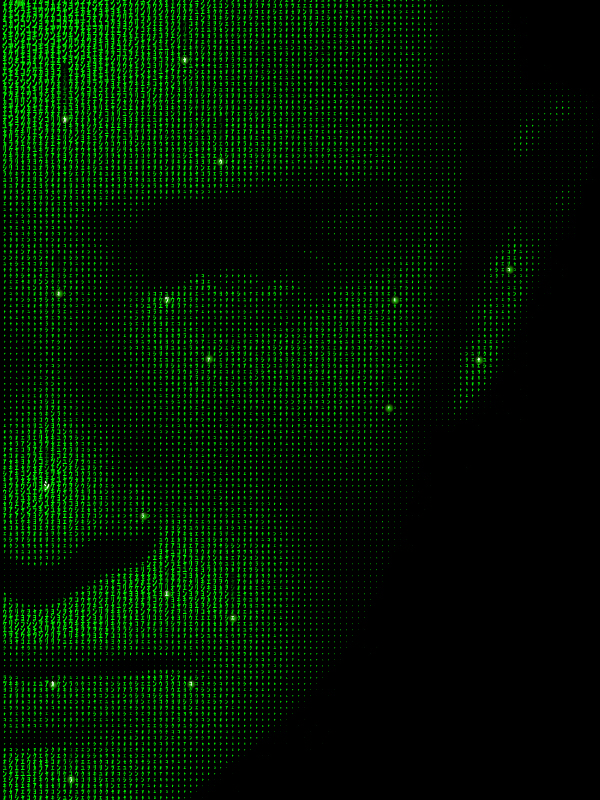
So, following my recommendations, run the script and we get the result shown in the figure below.
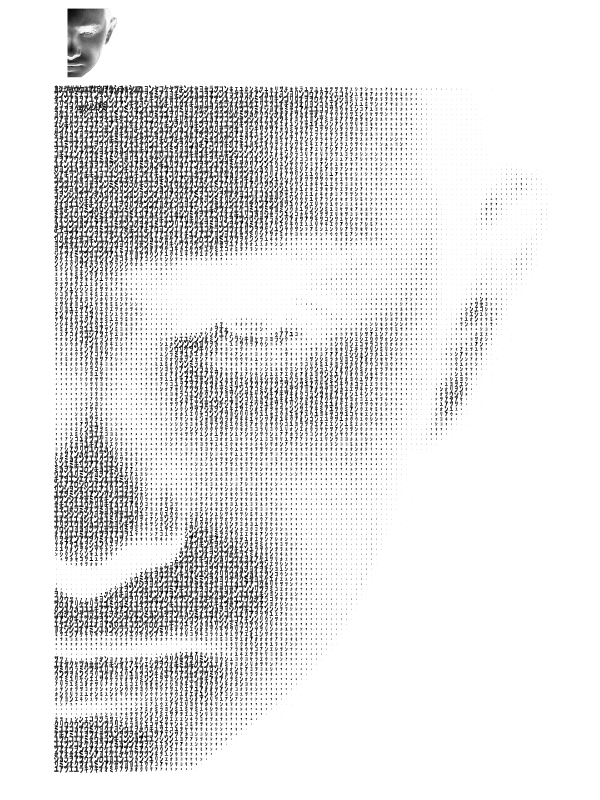
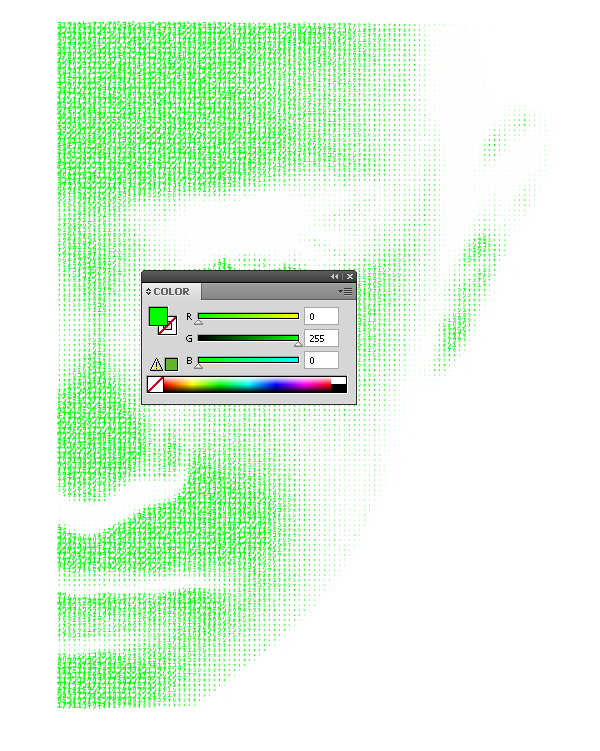
Remove the bitmap portrait, do not delete the symbols, we will need them in the following steps. Replace the color of symbols that form the portrait, I chose green in RGB color mode.
Step 12
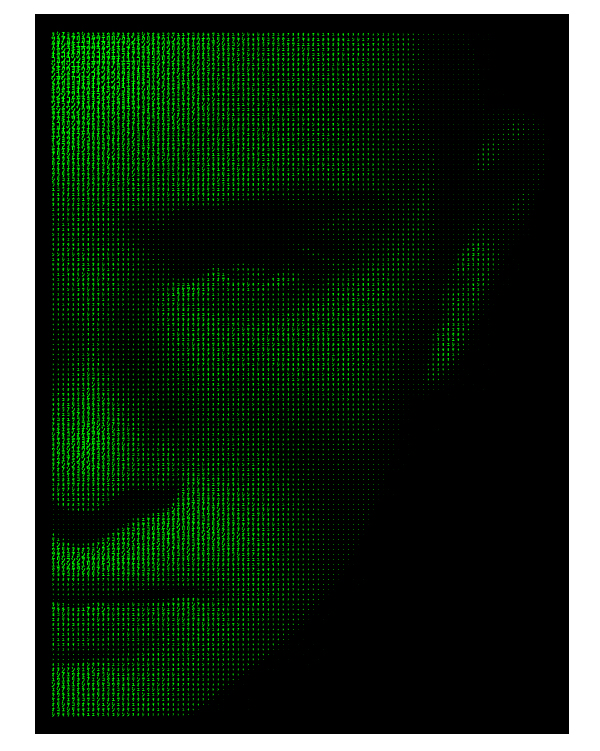
Take the Rectangle Tool (M) and create a black rectangle, which will be the background of the portrait.
Step 13
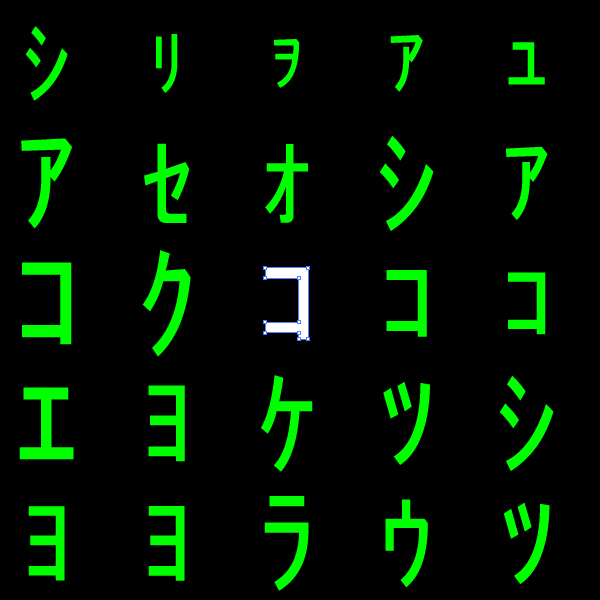
Now proceed to the creation of decorative elements of the portrait. Make some symbols glow. All the symbols of a portrait are located in the same group, so use the Direct Selection Tool (A) to select individual symbols. Select the symbol and change its fill to a white color.
Step 14
Create a glow around the symbol. Take the Ellipse Tool (L) and create a circle, while holding down the Alt + Shift. Fill the circle with a radial gradient that goes from solid green to a green with 0% Opacity.
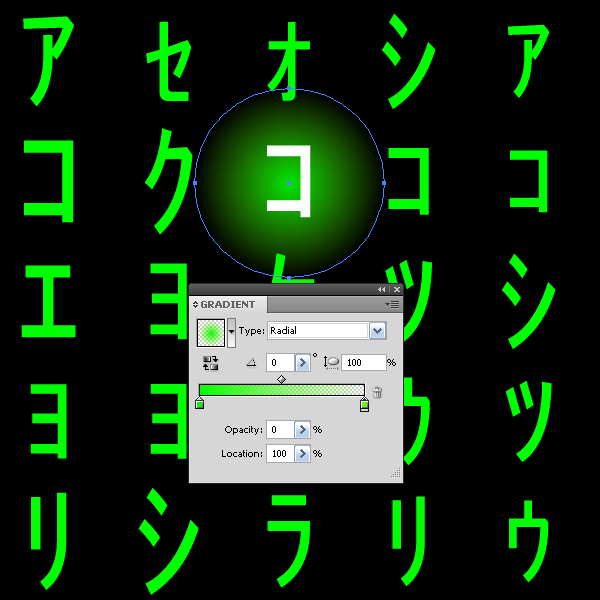
Place a circle below the under layer with a group of symbols, moving it down in the Layers palette.
Step 15
Now create a sagging effect for glowing symbols. Select the symbols one by one that are located above the glowing symbol, and change their Opacity at a pitch of 10%.
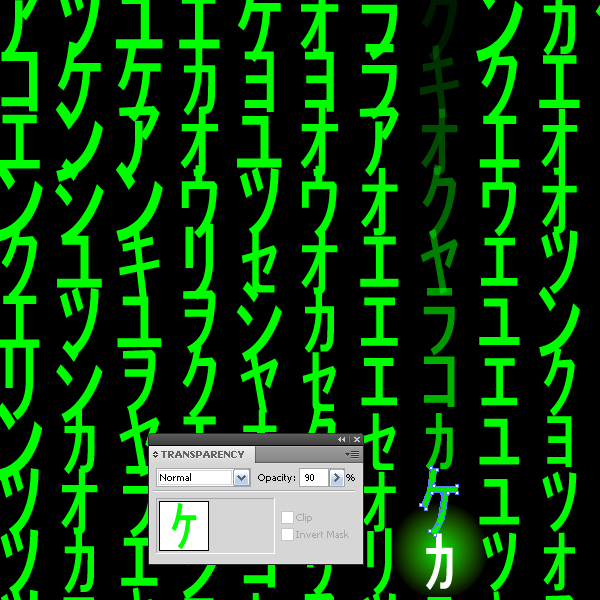
Apply the described technique at some key locations in the portrait.
Step 16
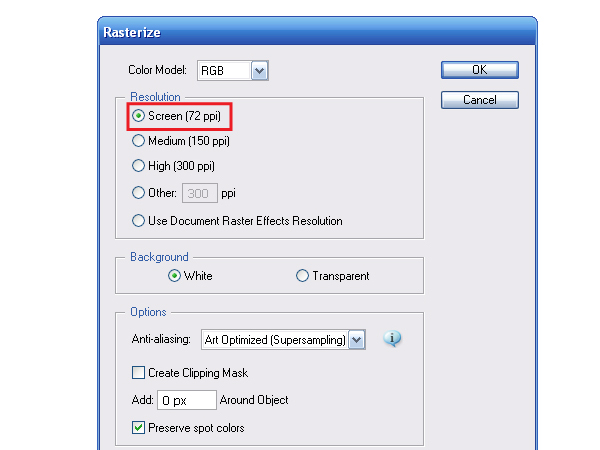
You may be wondering, how to transform vector objects into a set of symbols? They just need to be rasterized. Take the Rectangle Tool (M) and create a rectangle 10 by 150-pixels in size with a black fill.
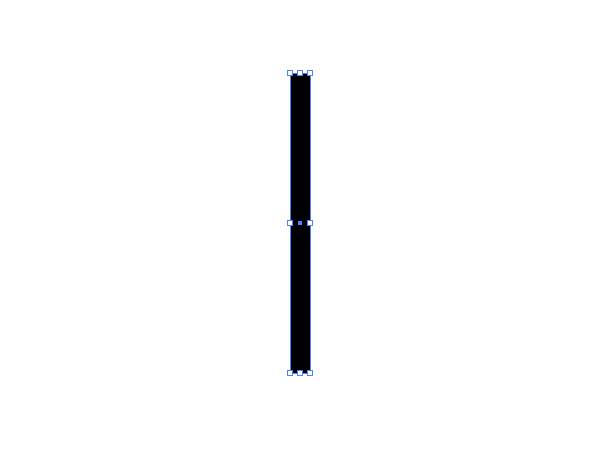
Keep the rectangle selected, go to Object > Rasterize…
Now transform the raster object into a set of symbols, using the same script and characters, as for the portrait.

Step 17
Place the strips of symbols in a corner of the portrait, you can delete extra symbols using the Eraser Tool or the Direct Selection Tool (A) and the Delete button.

Step 18
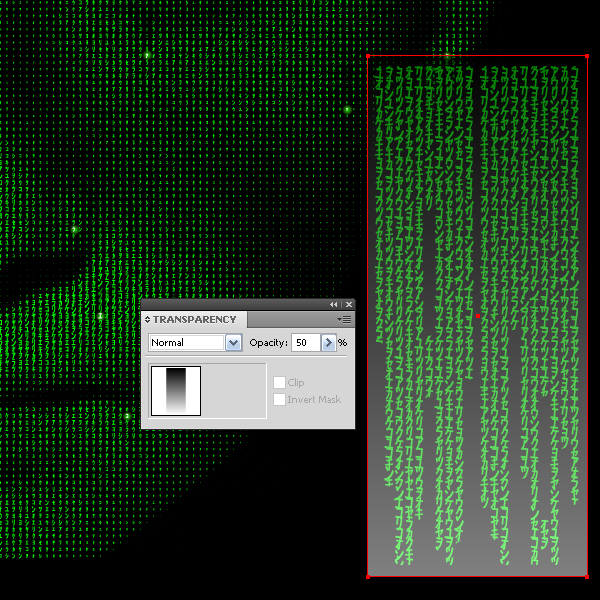
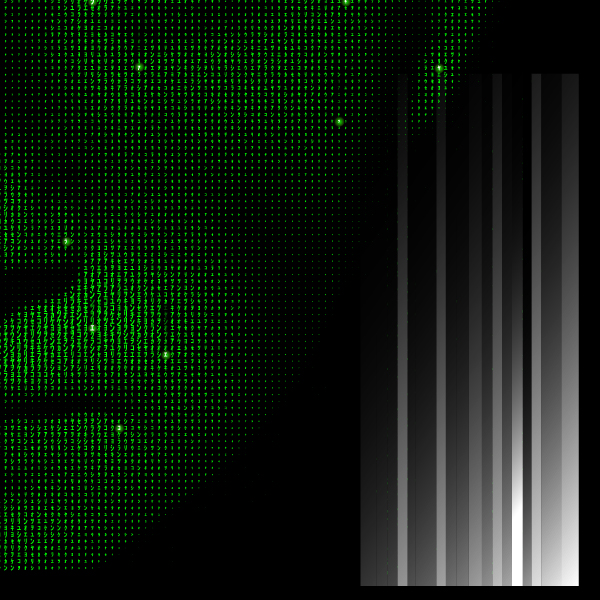
Take the Rectangle Tool (M) and create a rectangle filled with a black to white vertical gradient. The size of the rectangle should be the same to hide all of the symbols created in the previous step.
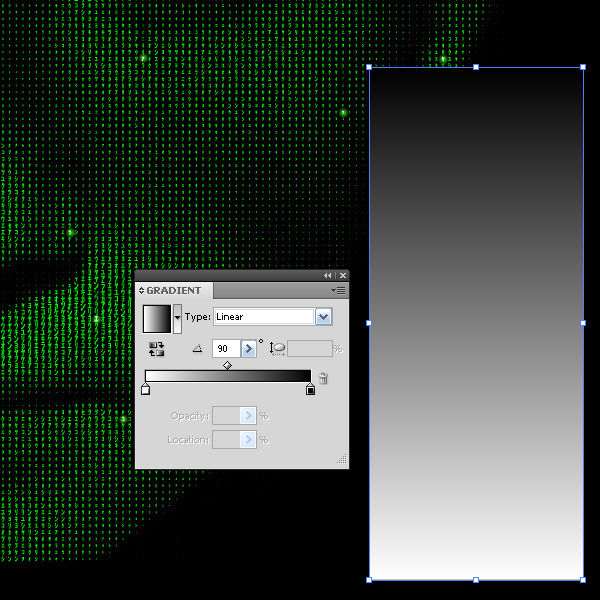
Change the Opacity of the rectangle for better convenience.
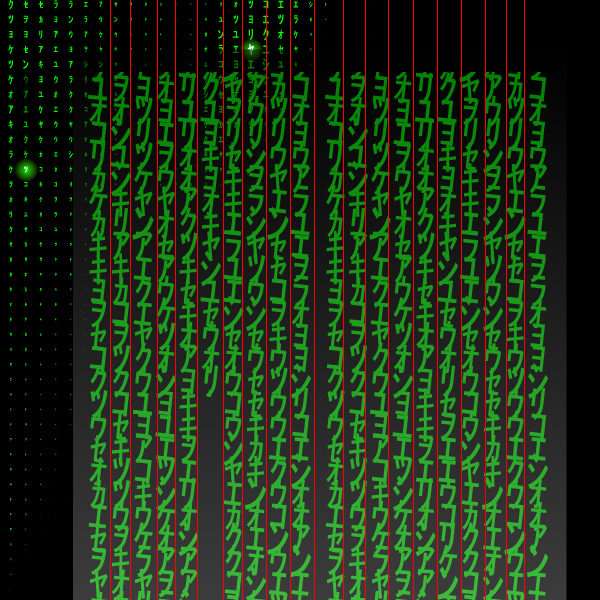
Create a set of vertical guides, and place them so that they are located among the columns of symbols.
Step 19
Select the guides and a rectangle, now press the Divide button from the Pathfinder palette.
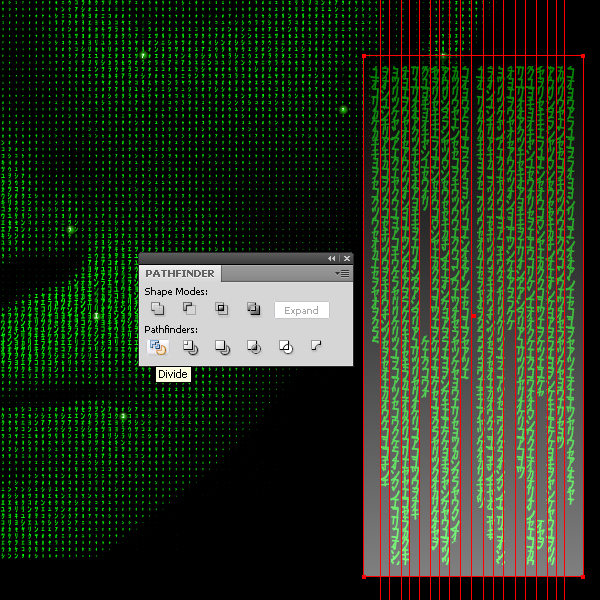
As a result, we got a bunch of rectangles, ungroup them and set 100% opacity.
Step 20
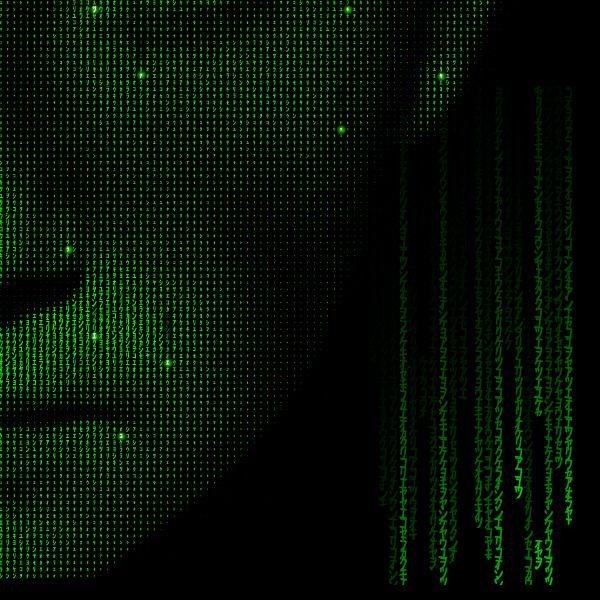
Using the Gradient palette, reconfigure the gradient fill of each rectangle, and proceed to the view shown in the figure below.
Step 21
Select all the rectangles and symbols below them, it is convenient to do it in the Layers palette, and click on Make Opacity Mask from menu of the Transparency palette.
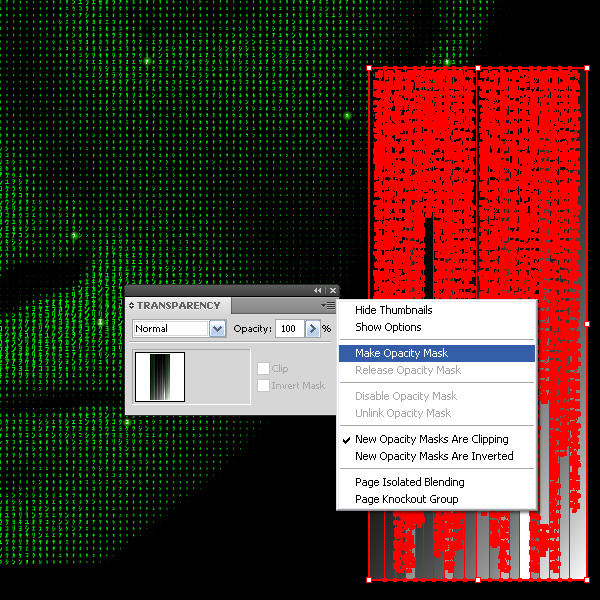
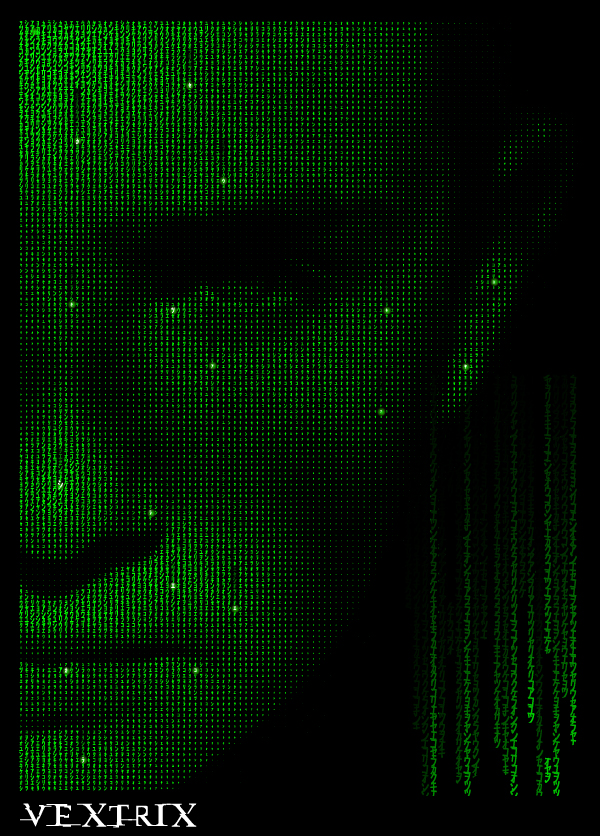
Well done, the portrait is ready.
Conclusion
Having mastered this technique, you can create interesting effects using raster and vector objects. Maybe somebody wants to make a desktop background using his or her photograph, and someone wants to print a portrait and hang it on the wall. Do you have any ideas?
No comments:
Post a Comment